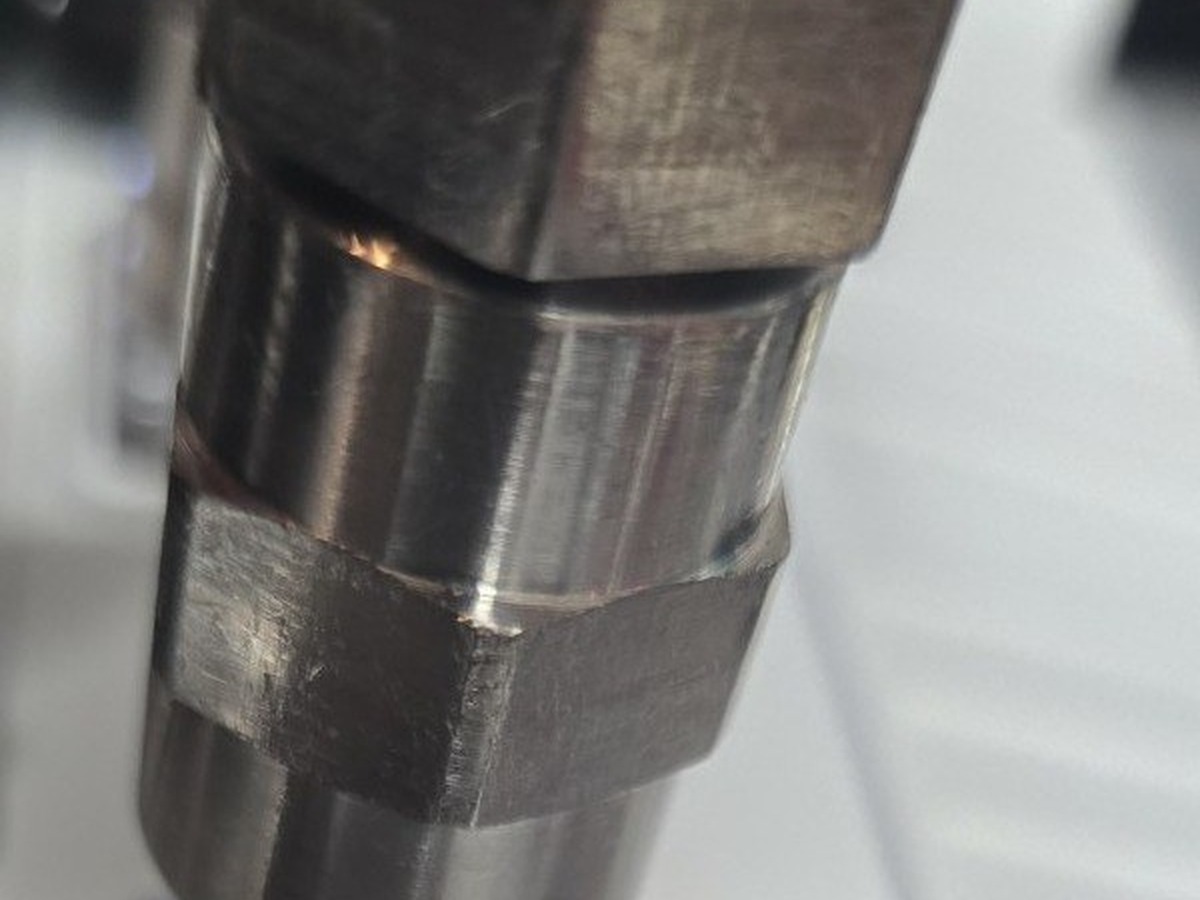
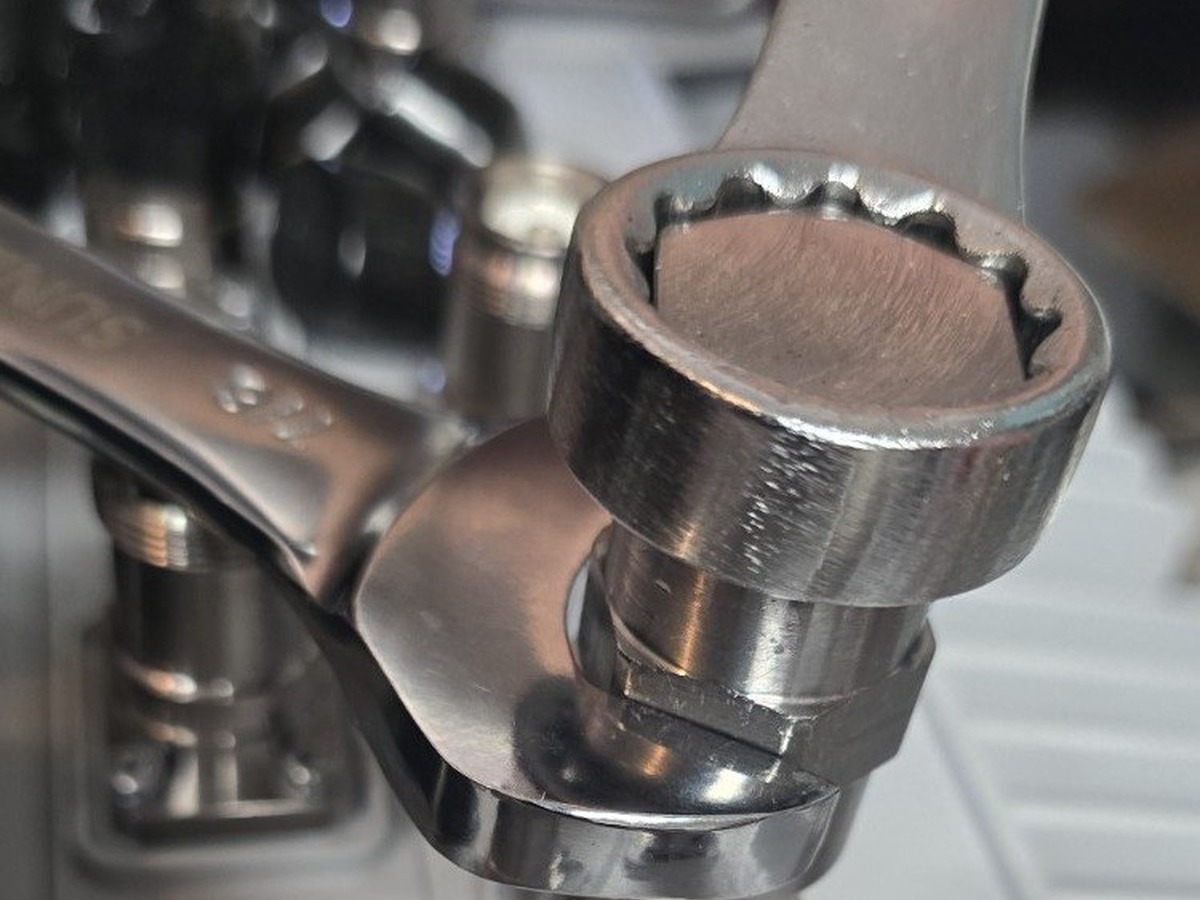
Dry-use tool and provided cleaning supplies:
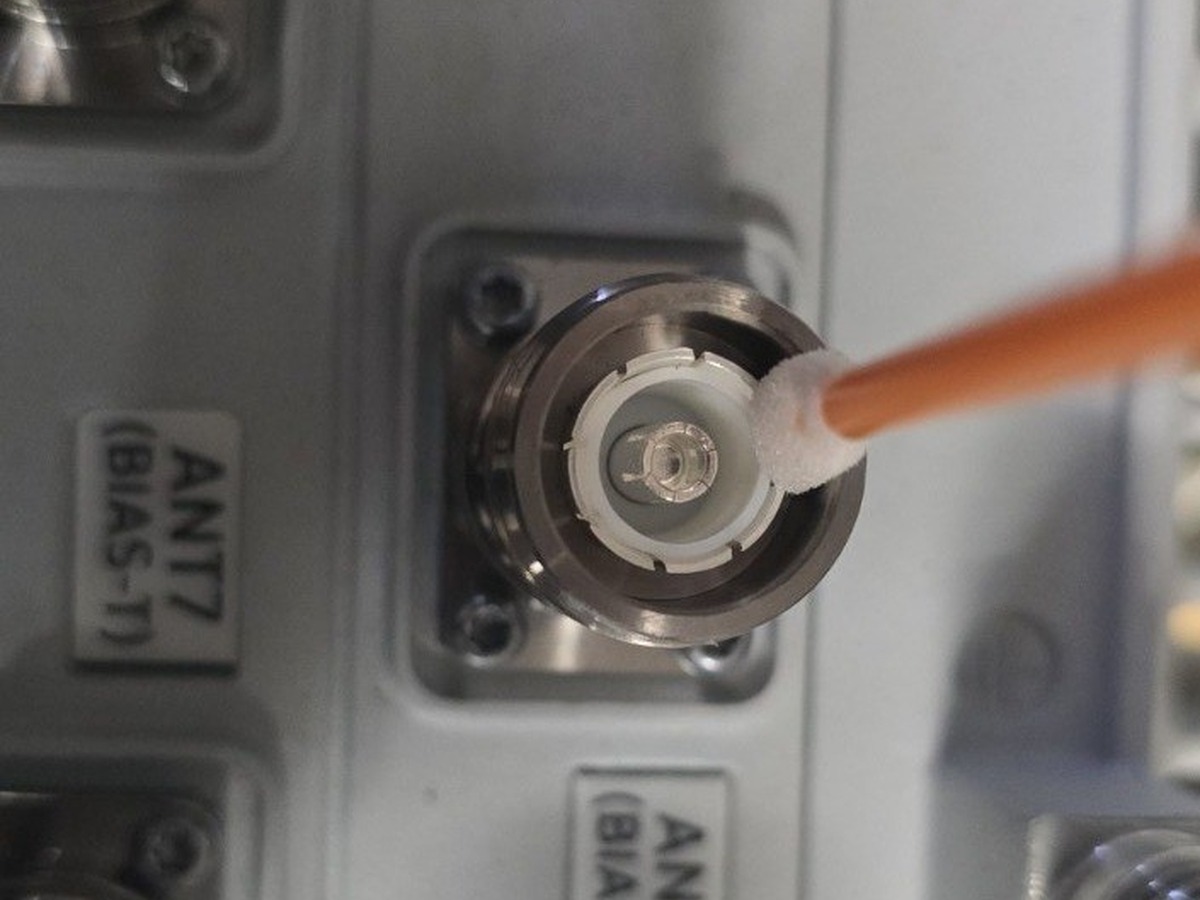
Use a clean, dry foam swab on the connector before and after reforming. Wipe the reforming mandrel head with a provided alcohol wipe before and after use, and allow it to air-dry completely before inserting it into the connector or returning it to the case. Do not apply oil, grease, or lubricant to the tool or port.
Inspection and preparation
Complete these steps before installing the tool.
1
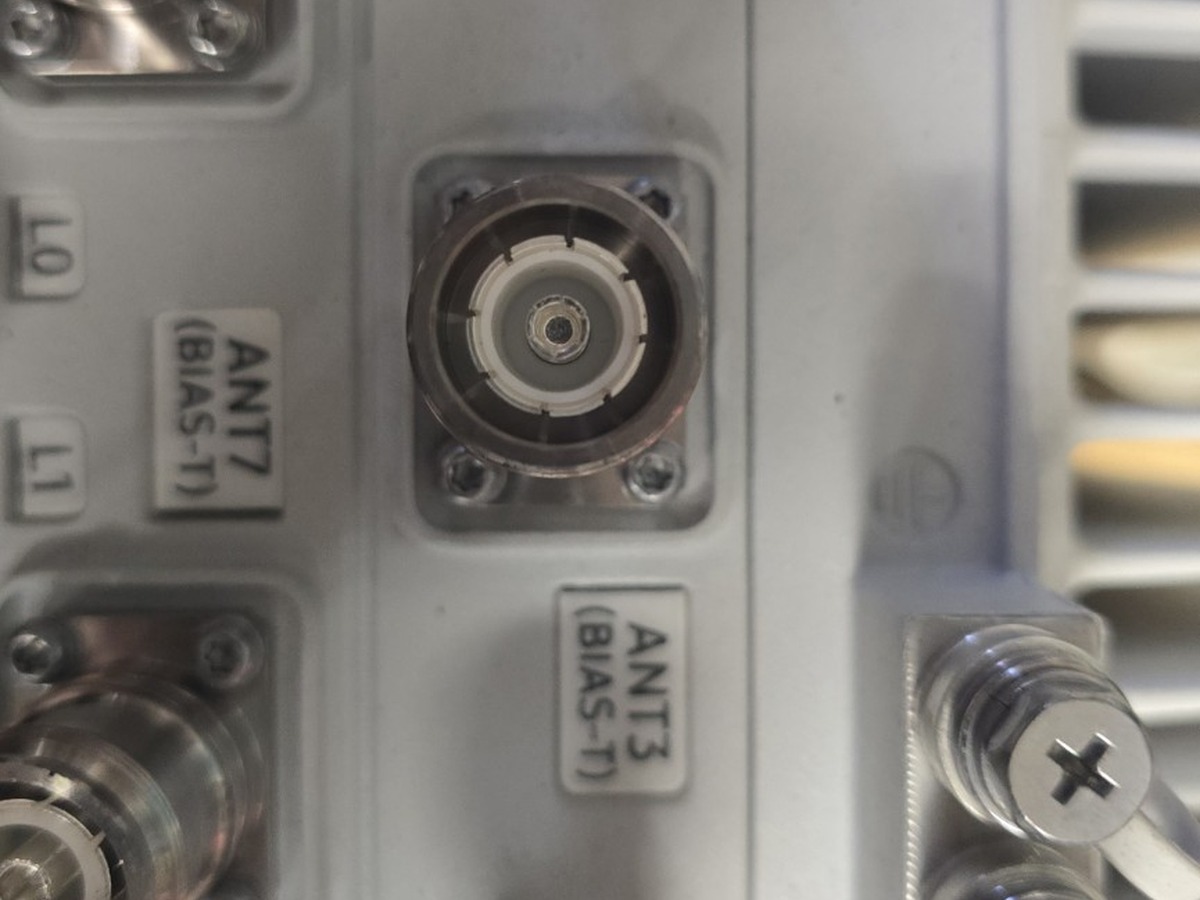
Inspect the port
Check the 4.3-10 female port for visible damage, debris, contamination, severe plating loss, cracking, or crushed geometry.
Stop: Severely crushed, cracked, or mechanically broken ports may not be repairable.
2
Clean the connector
Use a clean, dry foam swab to gently remove loose debris from accessible connector surfaces and threads.
Do not force the swab against the center contact. Confirm that no swab material remains in the port.
3
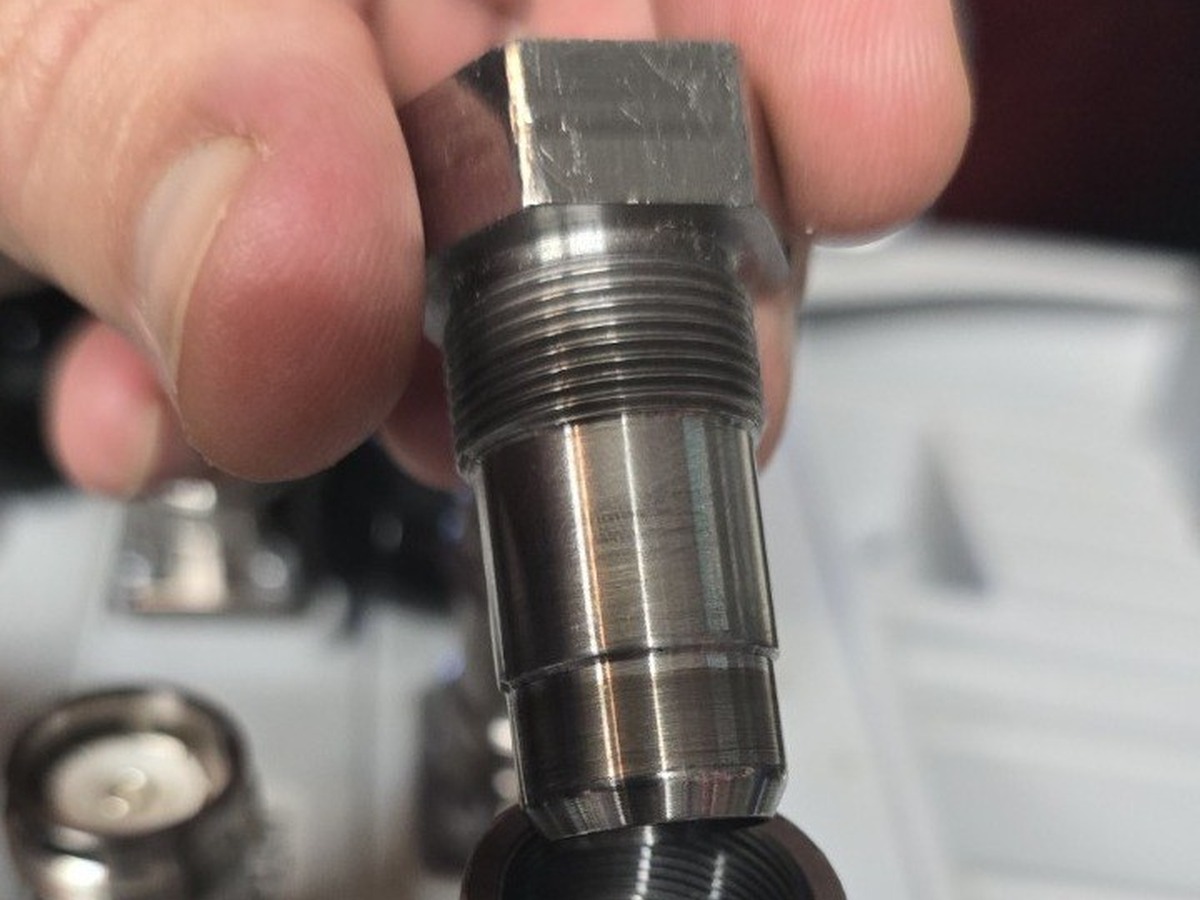
Clean the mandrel before use
Wipe the reforming mandrel head with a provided alcohol wipe. Allow the mandrel to air-dry completely before inserting it into the connector.
Install and reform
Keep the tool square and use slow, controlled hand pressure. Do not use impact tools.
4
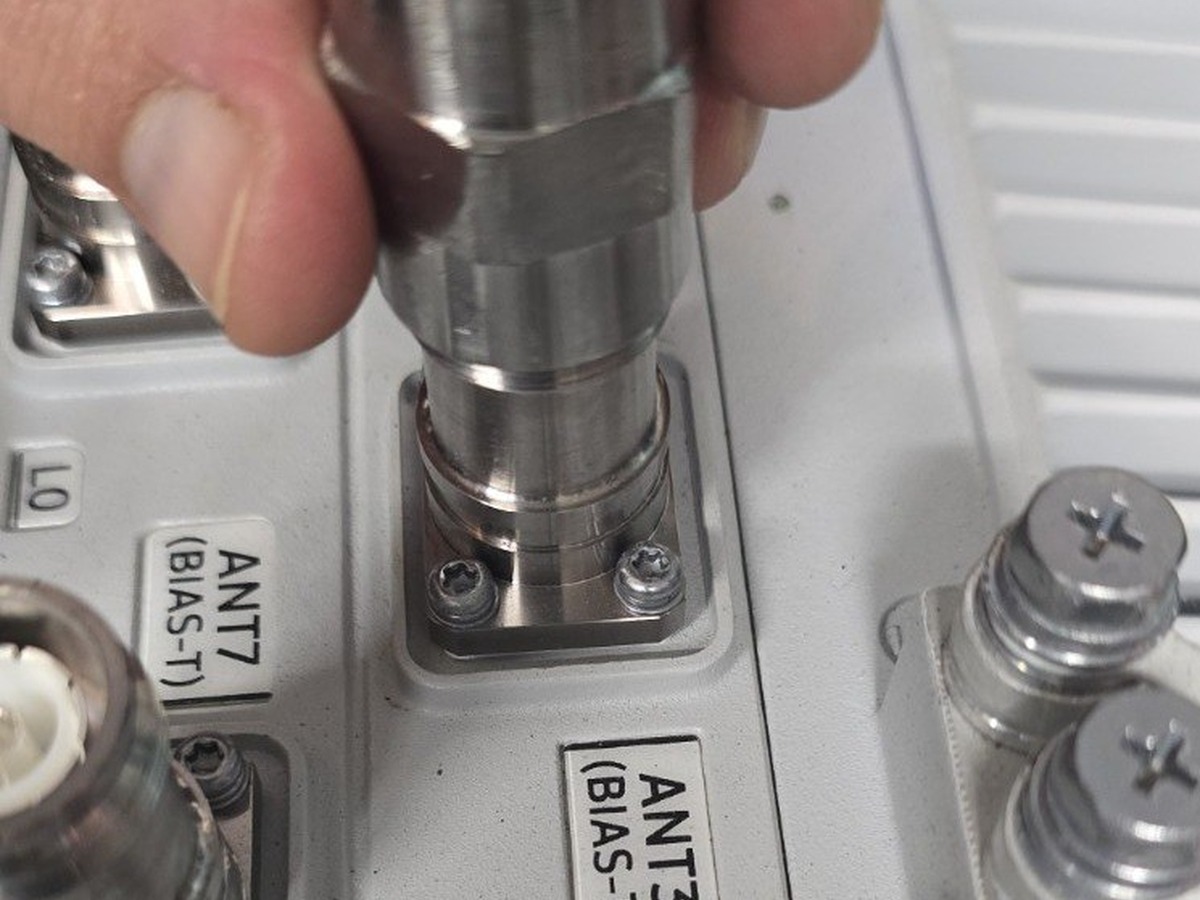
Start the guide collar by hand
Place the guide collar over the connector and begin threading it by hand. Keep the collar square to the port and avoid cross-threading.
Minor thread deformation: Light, controlled force may be required only after the collar is properly engaged. Stop if it cannot be kept square or requires excessive force.
5
Insert the reforming mandrel
Insert the clean, completely dry mandrel into the installed guide collar and begin threading it using slow, steady pressure.
6
Advance the mandrel
Continue threading the mandrel through the guide collar until the port has been reformed. Use steady hand-tool pressure only.
7
Use controlled wrenching
Use two 7/8-inch wrenches. Hold the guide collar stationary with one wrench while slowly turning the mandrel with the second wrench.
Wrenches are not included. Do not use adjustable wrenches, pliers, impact tools, power tools, or sudden force.
Completion and tool care
8
Remove the tool
Carefully back the mandrel out, then remove the guide collar from the port.
9
Clean the connector after use
Use a fresh, clean, dry foam swab to remove debris loosened during reforming. Inspect the connector again and confirm that no debris or swab material remains.
10
Clean the mandrel after use
Wipe the reforming mandrel head with a fresh provided alcohol wipe. Allow it to air-dry completely before inspection or storage.
11
Inspect the mandrel with the provided loupe
After cleaning and drying, slowly rotate the mandrel and inspect the complete working surface with the provided loupe. Look for brass-colored material transfer, raised deposits, embedded debris, scratches, scoring, chips, dents, deformation, or damage to the intentional burnishing grooves.
Remove from service: Do not reuse the mandrel if any brass-colored material transfer or other contamination remains after the approved cleaning procedure. Residual transferred metal may be carried into another connector and contribute to passive intermodulation (PIM). Also remove the mandrel from service if a raised deposit remains, the working surface is scratched, scored, chipped, dented, or deformed, or the burnishing grooves are flattened, torn, interrupted, or significantly worn. Contact Port Reformer support for evaluation or replacement.
12
Verify with the Go/No-Go gauge
Confirm the port geometry after reforming before returning the unit to service.
Final condition: The connector should be free of loose debris, swab material, and visible contamination. Before storage or reuse, the mandrel must be clean, completely dry, and free of brass-colored transfer, other contamination, raised deposits, and visible damage.
Use guidelines
Do
- Use a clean, dry foam swab before and after reforming.
- Wipe the mandrel head with a provided alcohol wipe before and after use.
- Allow the mandrel to air-dry completely.
- Inspect the mandrel with the provided loupe after every use and confirm that no brass-colored transfer remains.
- Start the guide collar by hand and keep it square.
- Use two 7/8-inch wrenches and slow, controlled hand-tool pressure.
- Verify with the Go/No-Go gauge.
Do not
- Do not insert a wet mandrel into the connector.
- Do not return a wet tool to the case.
- Do not use oil, grease, or lubricant.
- Do not use adjustable wrenches, pliers, impact tools, or power tools.
- Do not apply excessive force to severely damaged ports.
- Do not use abrasive pads, sandpaper, files, wire wheels, or polishing compounds to remove transferred material.
- Do not reuse a mandrel with brass-colored transfer, other contamination, raised deposits, scoring, scratches, chips, deformation, or damaged burnishing grooves.
- Do not leave debris or swab material in the connector.
Application note: This tool is intended for slightly deformed or out-of-round 4.3-10 female ports and minor thread deformation. Severely crushed, cracked, contaminated, or mechanically broken ports may not be repairable.